
Beauty
Make Your Personal Important Oil Bug Repelling Bracelet

Jun
With summer time enjoyable comes outside events, patio dinners and, inevitably, bugs. However if you happen to’re seeking to make a pure bug answer to keep away from DEET and different chemical substances present in typical mosquito and bug repellents, an important oil bug repelling bracelet offers a trendy answer.
When infused with oils that bugs hate, similar to citronella, lavender and geranium, these DIY bug repelling bracelets present a wearable technique to preserve bugs at bay, and look cute whereas doing it.
Soar to:
The right way to Make a Bug Repelling Bracelet
The very best half is that these clay beads are cinch to make and really easy to customise. Right here’s what you’ll must make your individual. This is the best way to make a bug repelling bracelet:
Provides
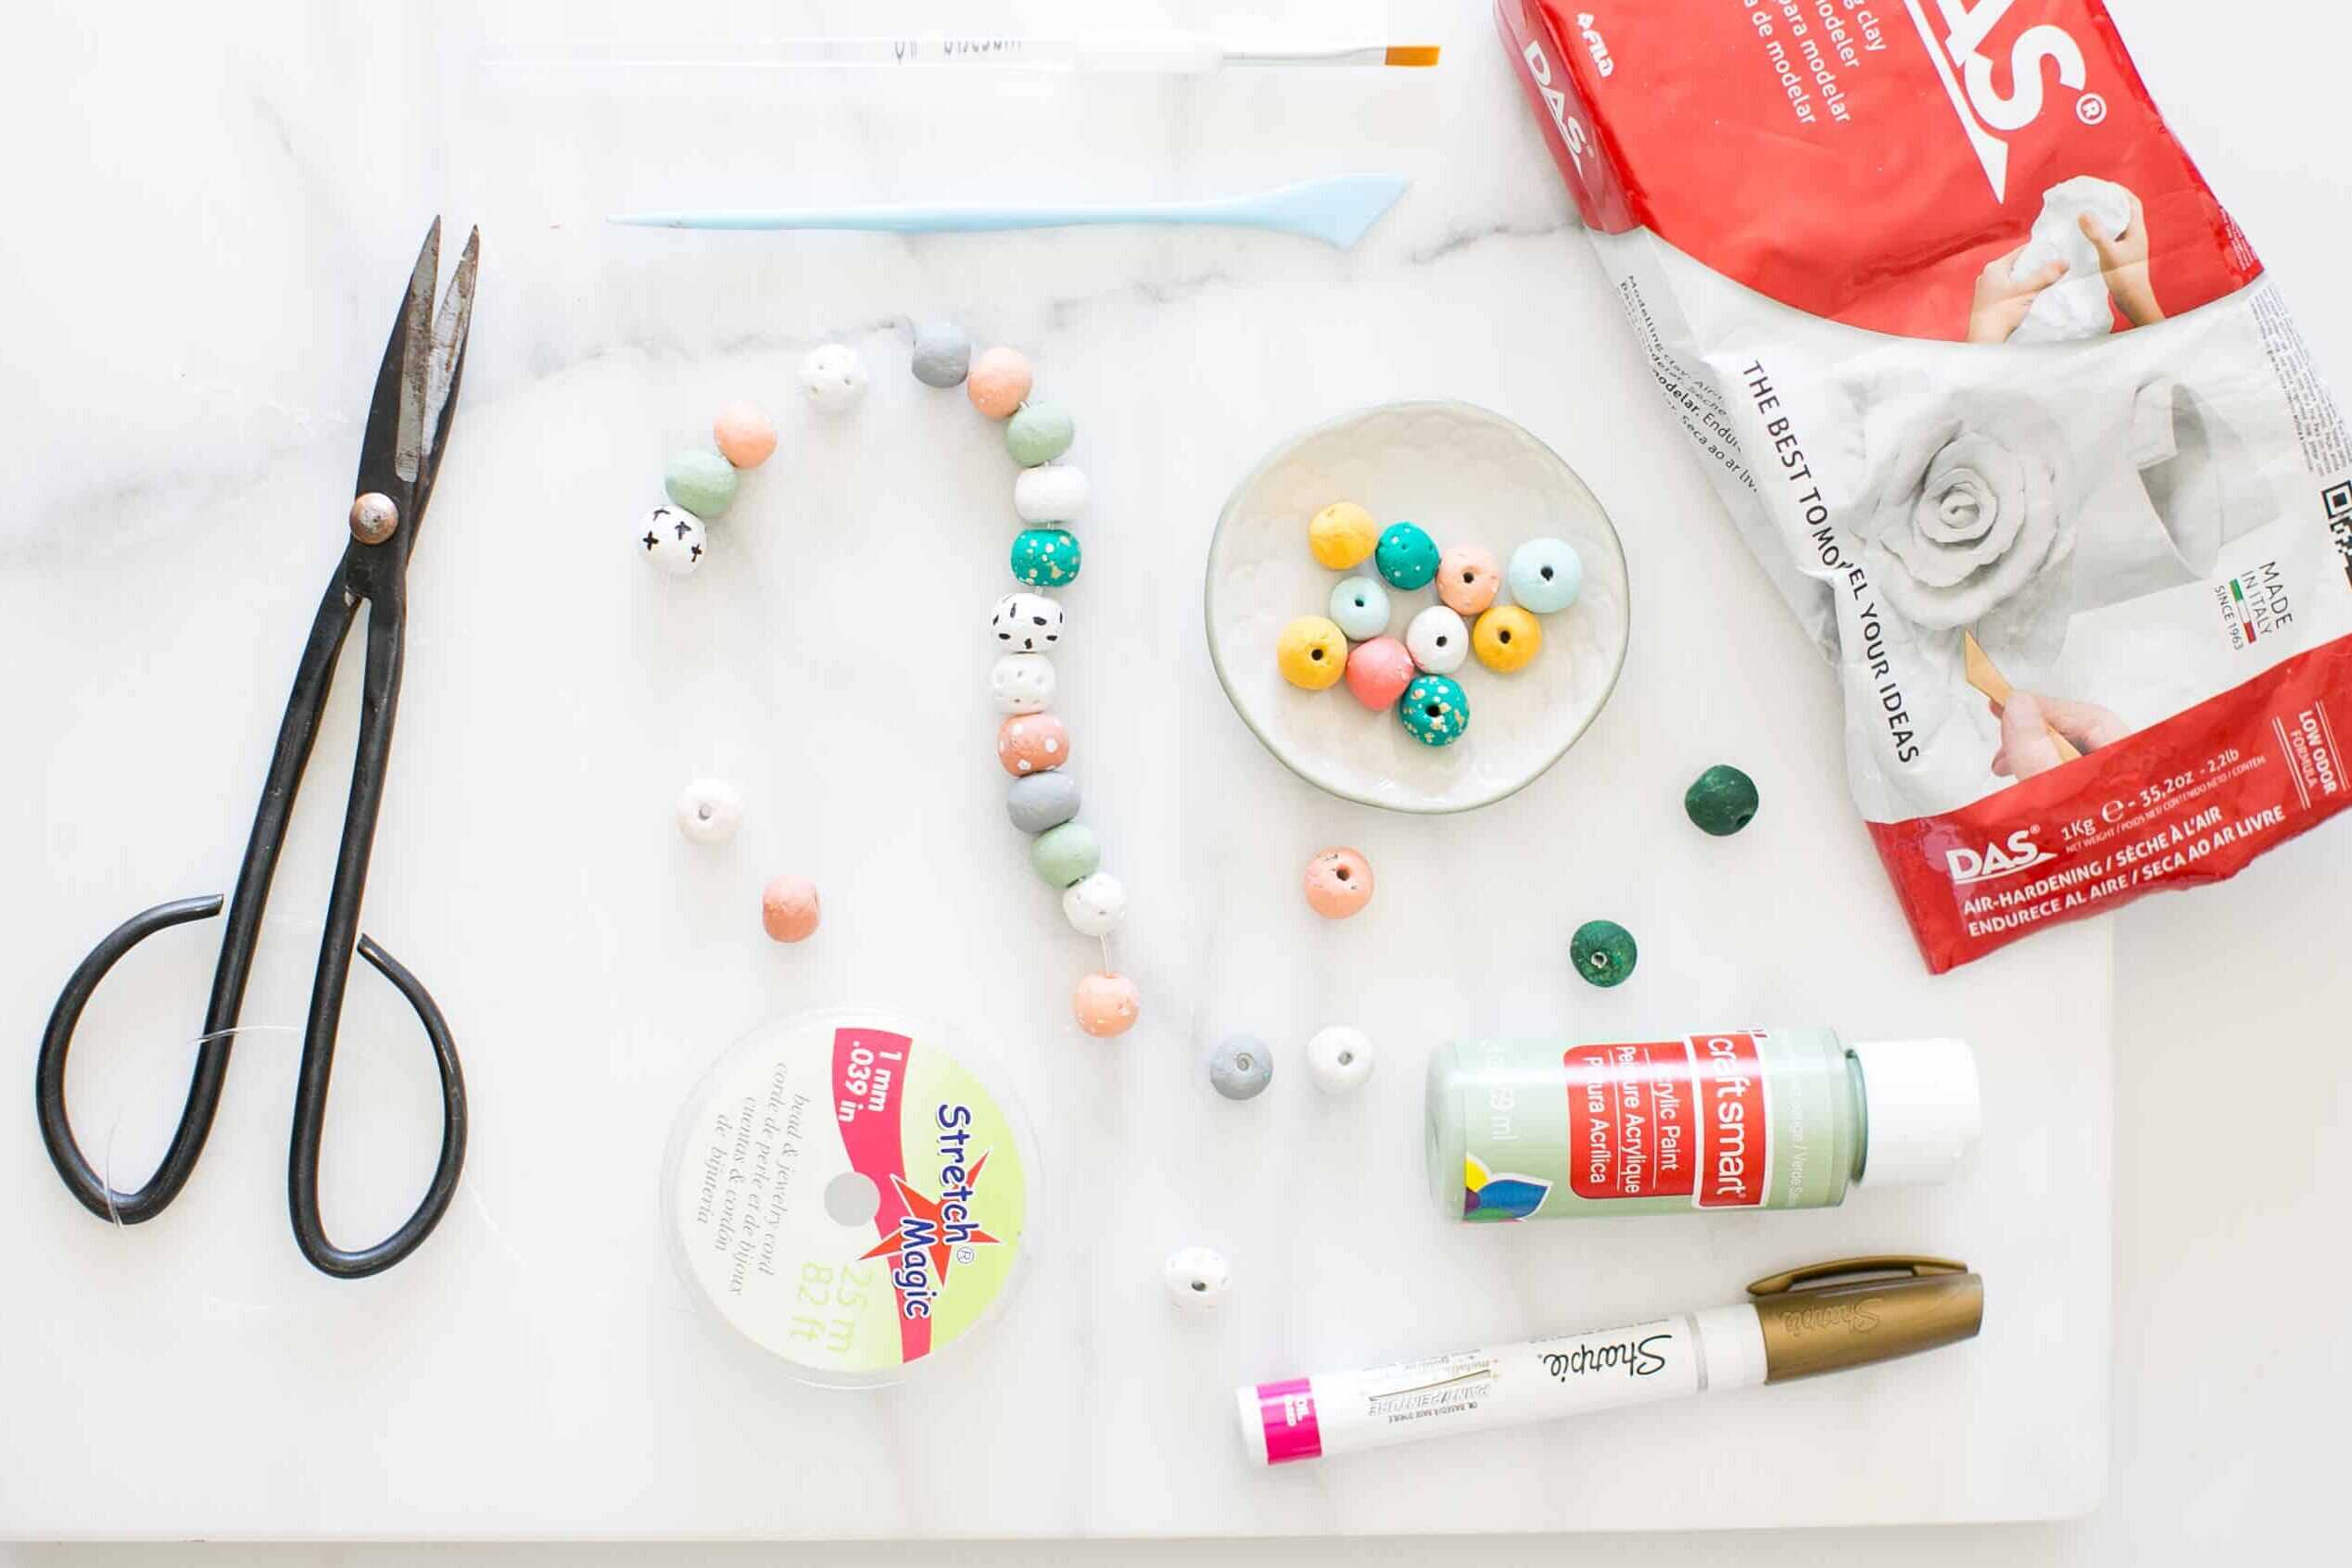
- DAS Air Dry Clay
- Clay gap chopping device (or wood skewer)
- Stretch Magic 1mm Beading Wire (or different jewellery making stretch wire)
- Acrylic craft paint
- Paint brush
- Paint marker
- Scissors
- Water
- Craft paper or wax paper (elective to cowl work floor)
Directions
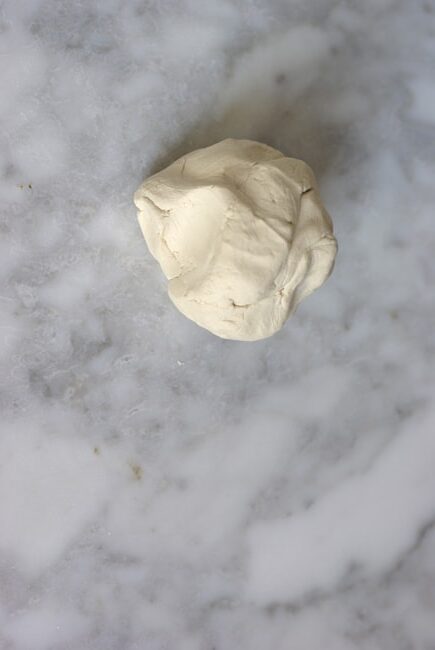
Step 1: Prep your clay and work floor.
Cowl your work floor with craft paper or wax paper. Reduce or break off a handful of air dry clay. Add just a few drops of water to clay to melt and knead with arms to include water.

Step 2: Form your beads.
Break off a blueberry-sized piece of clay and roll right into a ball. Every bead doesn’t should be an ideal sphere — we love the natural, handmade nature of every bead. As you’re rolling every bead, the clay must be tender and moldable, not too dry or moist and mushy. When you discover that clay appears dry or is cracking as you’re rolling every bead, add a drop of water to maintain clay moist.

Step 3: Pierce holes in beads.
As soon as every bead is a pleasant spherical form, use your clay gap chopping device or wood skewer to pierce a gap via the middle of your sphere. Be sure that gap reaches via each side to make sure you can push string via it later.
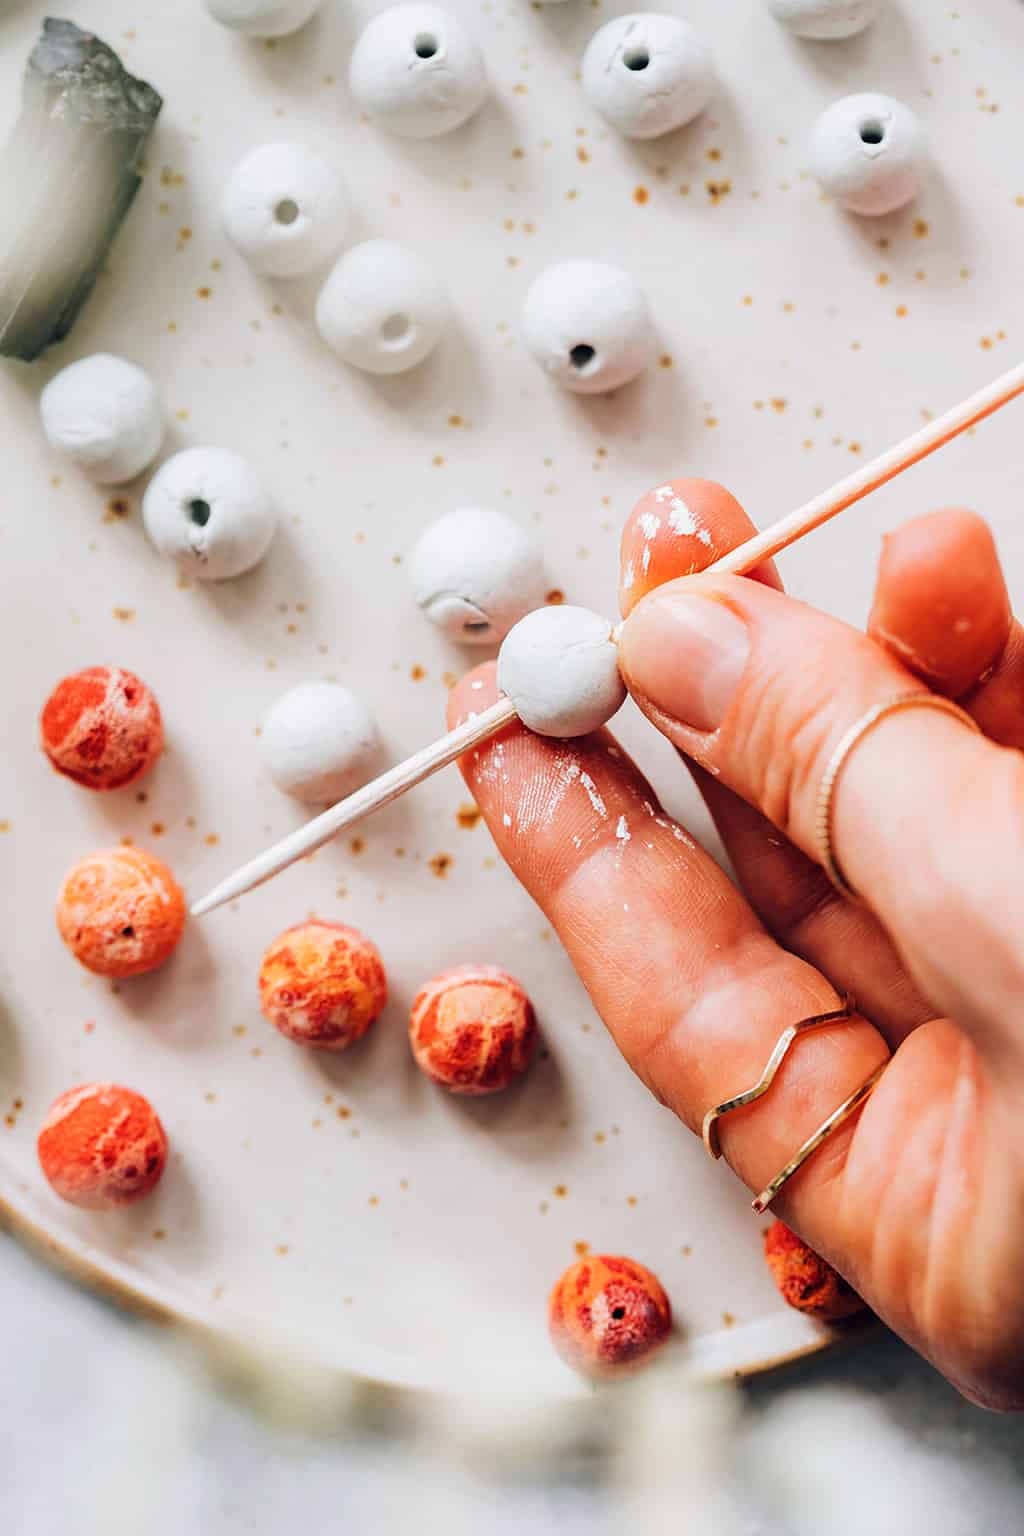
Step 4: Repeat.
Roll about 20 completed beads. The ultimate variety of beads you have to to make every bracelet will differ as ultimate bracelet size is decided by wrist measurement. Let dry fully, ideally in a single day.
Suggestions for Texture
To extend the quantity of oil our beads may take in, I used my chopping device to make small spherical indentations in a few of my beads. To do that, use your gap chopping device or wood skewer to make small spherical indentions on the skin of beads. Rigorously press your device or skewer just a few millimeters into every bead, ensuring that you just don’t alter the form of the bead or puncture the outlet you’ll use to string every bead.
Step 5: Paint and customise your beads.
As soon as dry, use acrylic craft paint to color beads. A medium or fine-tipped paint marker additionally turns out to be useful to create simple patterns on some beads.
Suggestions for Portray
I used gold, black and white paint markers to make polka dots, traces, squiggles and a few extra organically formed spots. I additionally left fairly just a few of my beads au naturel as a result of I favored the cool white hue of the clay.
To keep away from getting paint in your fingers — or having painted beads persist with paper whereas drying — I put some additional wooden skewers to make use of. Merely place a bead on the tip of a skewer by sliding skewer into the outlet you’ve made in every bead.
Then maintain skewer and rotate it as you paint the bead. When you’ve completed portray every bead, place the skewer in a glass whereas paint dries. As soon as your beads are dry, merely take away from skewers.
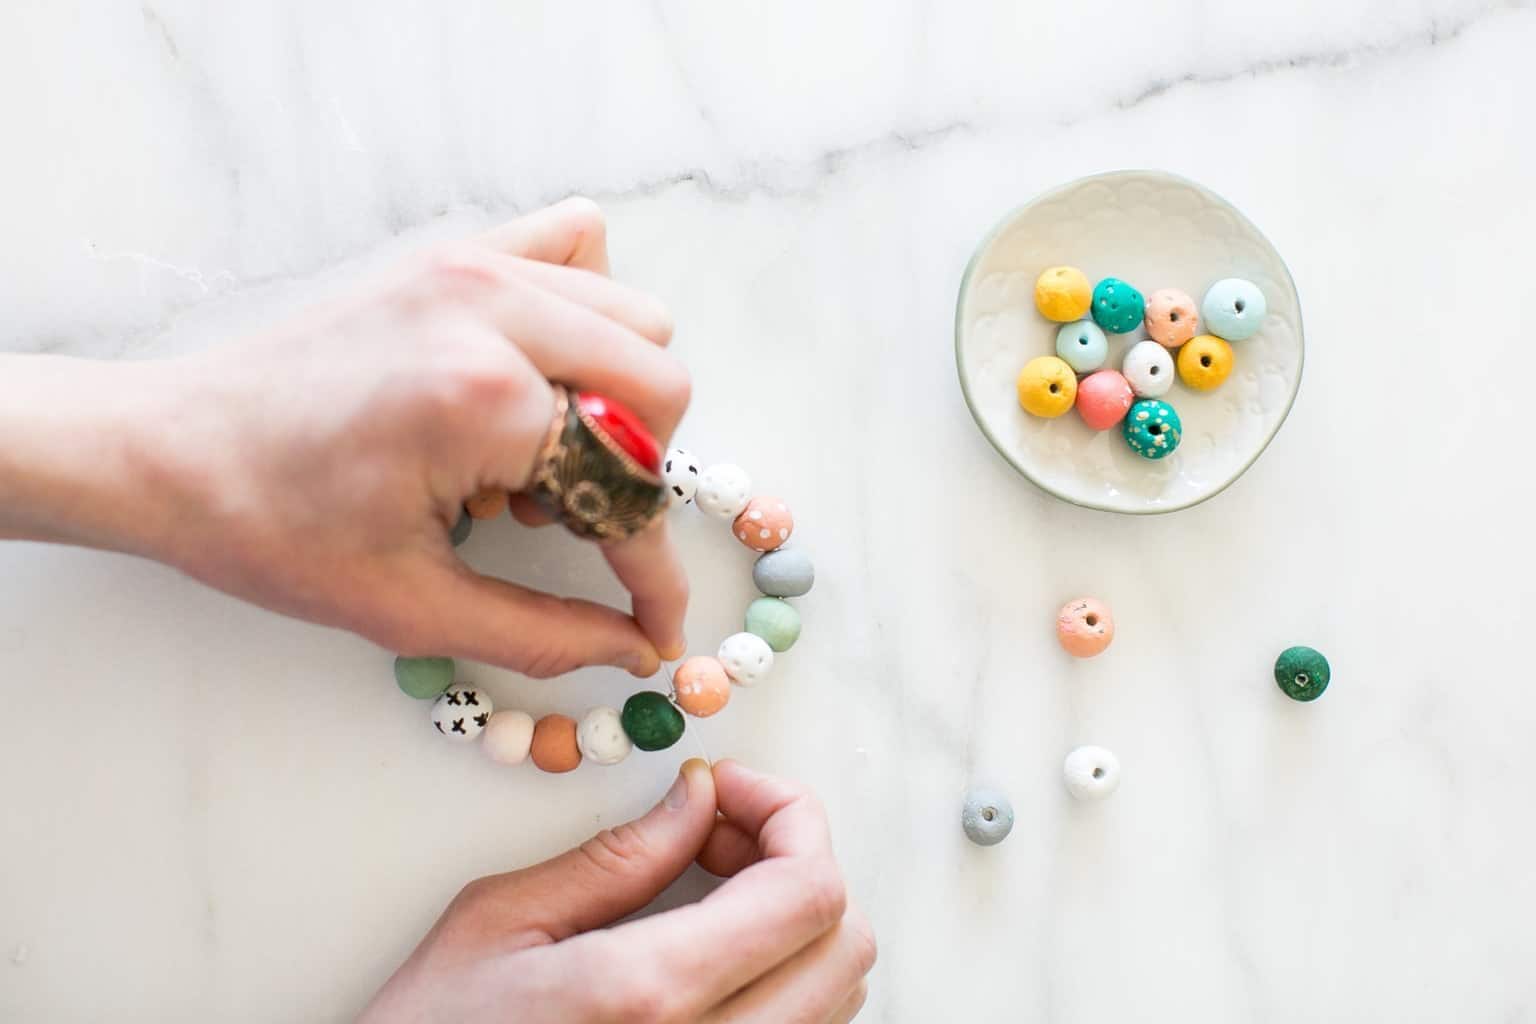
Step 6: String beads + add oils
As soon as beads are dry, reduce a size of the stretchy beading wire based mostly on the dimensions of your wrist, leaving an additional inch or two on every finish for tying. String beads on stretchy wire till you’ve reached your required size. Tie off stretchy wire in a knot based on wire packaging directions and reduce off extra. When you’d like, you possibly can add a dot of glue to maintain the knot safe.
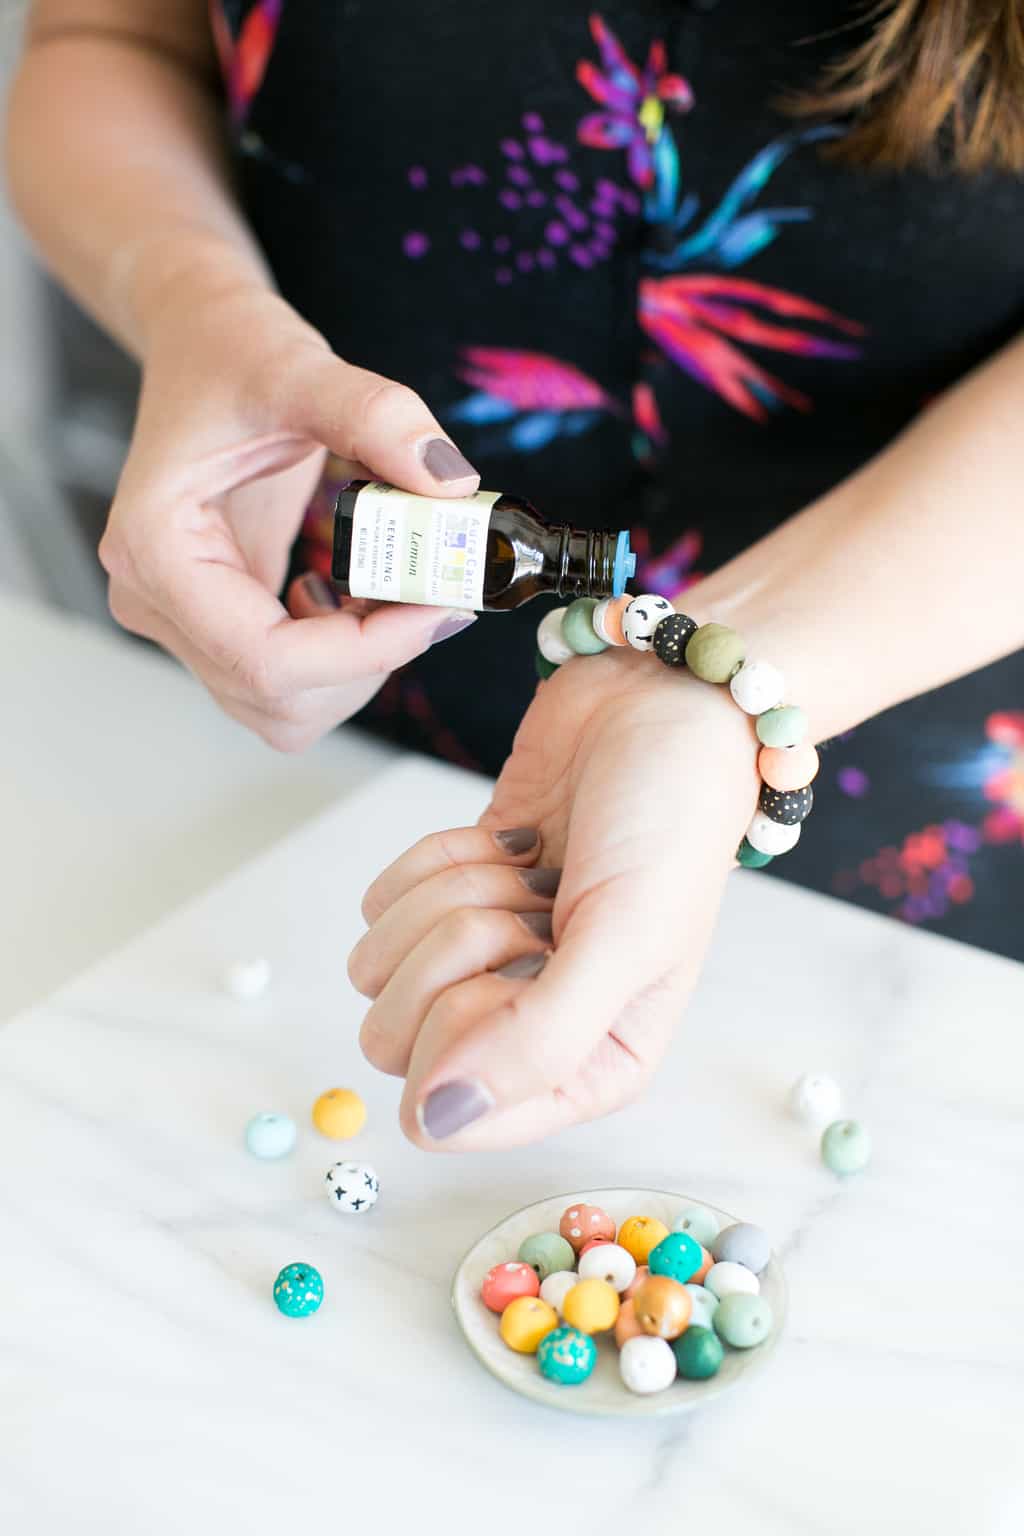
Now for the enjoyable half! Apply just a few drops of important oils to a number of beads. When making use of, needless to say many important oils should not be utilized on to your pores and skin undiluted, so that you’ll need to apply oils to the sections of beads which are away out of your pores and skin. Or combine up our Bug Be Gone mix beneath to dilute the oils earlier than making use of to the beads.
What Important Oils to Use?
If mosquitoes are your important concern, oils like citronella, peppermint, lemon, eucalyptus, basil, clove, thyme, lemongrass, geranium, and lavender are stated to repel them.
If fleas are extra of a difficulty, go for oils like cedarwood, citronella, eucalyptus, tea tree, lemongrass, lavender, orange, and pine.
And, if you happen to’re in a tick-prone space, choosing just a few drops of rose geranium, juniper, rosewood, thyme, grapefruit, or oregano ought to do the trick. Or, if you do not have these important oils readily available, attempt an all-purpose mix like NOW’s Bug Ban.
Bug-Be-Gone Mix
—1 drop Lemongrass
—1 drop Geranium
—1 drop Lemon
—2 drops Cedarwood
Add the important oils to 2 teaspoons of service oil and place just a few drops to your beads. You should utilize the above combination, mix your individual or use only one oil. Do not go overboard; 5 drops of important oil for two teaspoons of service oil is an efficient guideline.
Whereas I like to make use of a customized mixture of a number of the bug-repelling oils listed above to maintain pests at bay in the summertime, you possibly can all the time combine it up relying in your temper or ailment. As soon as the scent wears off, you possibly can reapply the identical combine or attempt a brand new mix. I’ll be including citronella to mine for weekend BBQs!
Nonetheless received bugs? Attempt including these bug-repelling crops to your patio.